How to have the Tesla Wall Connector installed by a certified installer?
Installing a Tesla Wall Connector is a crucial step for Tesla electric vehicle owners who want a fast and convenient at-home charging solution. To guarantee safety and efficiency, it is essential to use a certified installer. This article walks you through the steps necessary to organize and successfully complete this installation.
Understanding the Tesla Wall Connector
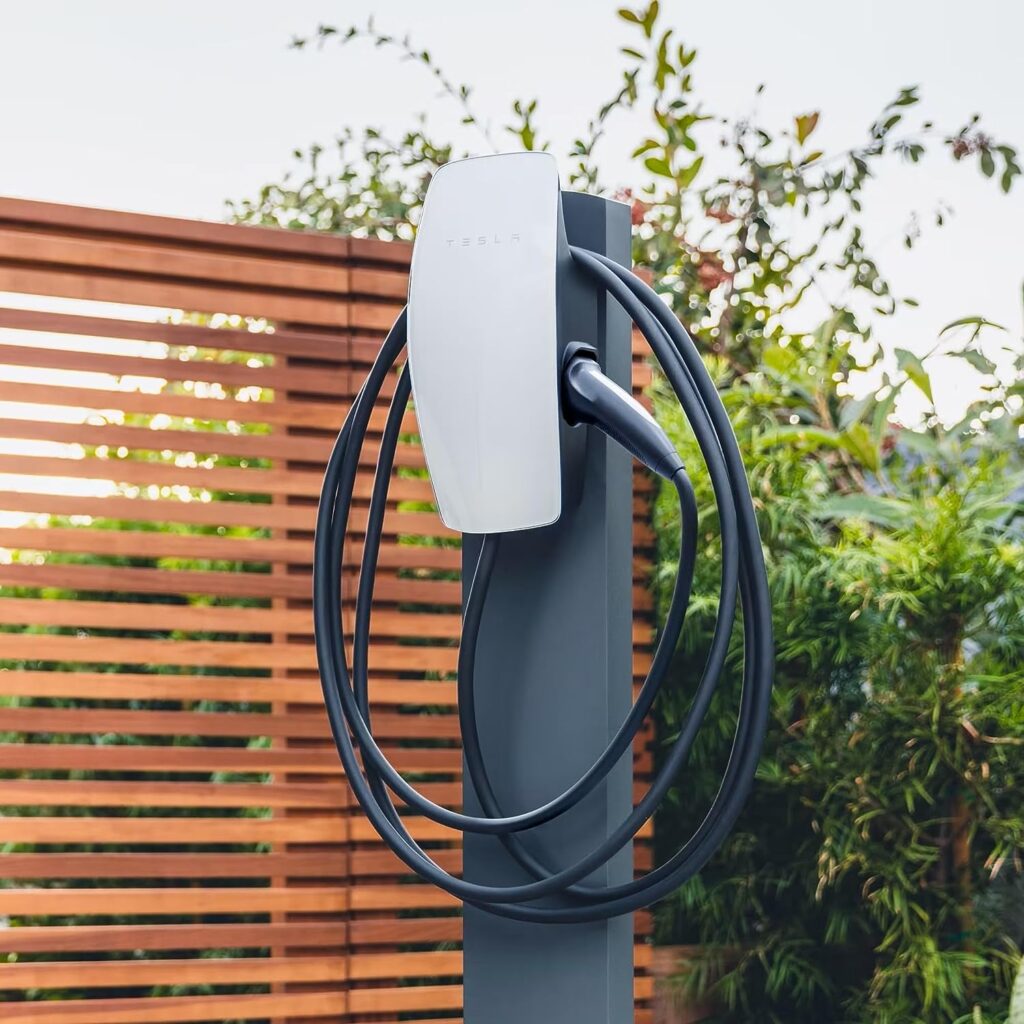
The Tesla Wall Connector is a charging station that allows significantly faster charging than with standard household outlets. It is compatible with all Tesla models and can be configured for different charging speeds, depending on the existing electrical installation.
Advantages of the Wall Connector:
- Fast charging : up to 44 miles (approximately 71 kilometers) of charging per hour.
- Flexible installation : can be installed indoors or outdoors.
- Connectivity : integration with the Tesla ecosystem for optimal charging management.
Choose a certified installer
Installation of a Wall Connector must be carried out by a certified professional to ensure compliance with electrical and safety standards. Here’s how to do it:
Submit your request for installation of a charging station
Why choose a certified installer?
- Expertise : Certified installers have the expertise required to manage the technical specifics of Tesla products.
- Guarantee : An installation carried out by a certified professional is often covered by a warranty, insuring you against possible malfunctions.
- Compliance : They ensure that the installation complies with all local safety standards and regulations.
Preparing for installation
Before the installer arrives, a few preparations can make the installation process easier and faster:
Evaluation of your electrical installation:
- Prior inspection : It is often recommended to have your electrical installation inspected by a professional to ensure that it can support the additional load of the Wall Connector.
- Need to upgrade? : Depending on the age of your home and its current configuration, an electrical panel upgrade may be necessary.
Choice of location:
- Proximity of vehicle : The ideal location for the Wall Connector is a place where the charging cable can easily reach your vehicle.
- Weather protection : If installing outdoors, make sure the location is sheltered from the elements.
Installation process
The installation process by a certified installer generally includes the following steps:
Installation and testing:
- Attaching the Wall Connector : The Wall Connector is attached to the wall in the chosen location and connected to the home’s electrical system.
- Configuration : The installer configures the Wall Connector so that it operates at the desired capacity, according to the specifications of your electrical installation.
- Security testing : Before finalizing the installation, the installer will carry out tests to ensure that everything is working correctly and safely.
Demonstration of use:
- Detailed explanations : The installer will show you how to use the Wall Connector, including how to connect it to your vehicle and monitor your charging through the Tesla app.
After installation
Once the Wall Connector is installed, there are a few things to keep in mind:
Monitoring and maintenance:
- Monitor your consumption : Keep an eye on your energy consumption to optimize your use.
- Interview : Although the Wall Connector requires little maintenance, check regularly that everything is working as expected.
By following these steps and choosing a certified installer, you will maximize the performance and safety of your Tesla Wall Connector, ensuring an optimal charging experience for your electric vehicle.
